Purpose
The Group Email function enables you to target email to specific groups of people.
How to Create a New Email
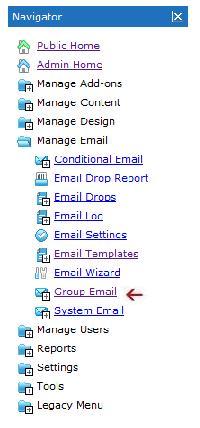
When you are on the website and are logged on as an Administrator, you will click ADMIN HOME. On this page, you will select MANAGE EMAIL and then GROUP EMAIL from the menu on the left side of your screen, as shown below:
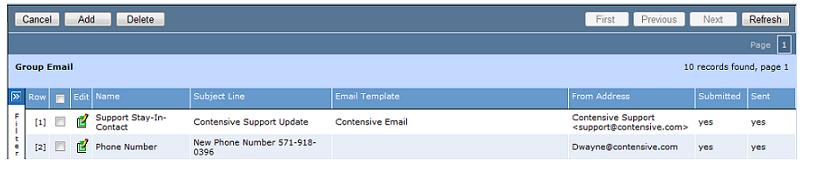
After you click GROUP EMAIL, you will see a list of all group emails already sent on the right side of your screen, similar to the image below:
Here you will click on ADD from the menu to open a new mail record, as shown below:

On this screen, you will name the record, fill in the subject line (this will be the subject line for the email), enter a valid email address (specifying who in your organization is sending the email), select the confirmation email from the drop down (this is the email where the confirmation and the test emails will be sent), and create your copy in the BODY.
You may also choose a specific EMAIL TEMPLATE if you have them set up for certain types of email and a DO NOT SEND BEFORE date/time if you want to delay the delivery of your email. You may also add links and images to your email the same way you do these tasks on a web page.
If you check the ALLOW LINK AUTHENTICATION box, it enables the system to encode the member names and passwords, if appropriate, in a link you can create in the email body. This will enable personalization in the visit and allow members with proper group affiliation to get through path blocks, without having to log in.

Place your cursor in the Body of the email where you want the personalization to appear, and then click on the ADD-ONS drop down and choose the add-on you want. The add-on you choose depends on what you want customized. In this example, you choose the add-on PERSONALIZATION-FIRSTNAME so that the email will read "Dear John" or whatever first name is associated with the email address each email is sent to. There are also add-ons for email address, last name, name, password, and username.
How to Personalize An Email
If you want to add personalization to an email, such as "Dear Joe", you can use a PERSONALIZATION ADD-ON from the menu, as shown below:Place your cursor in the Body of the email where you want the personalization to appear, and then click on the ADD-ONS drop down and choose the add-on you want. The add-on you choose depends on what you want customized. In this example, you choose the add-on PERSONALIZATION-FIRSTNAME so that the email will read "Dear John" or whatever first name is associated with the email address each email is sent to. There are also add-ons for email address, last name, name, password, and username.
How to Specify Groups for An Email
When you have the email record open, click on the SEND TO GROUPS TAB (See image below). All existing groups are listed here. Simply click on the groups that you want this email sent to. For more detailed information on how to create and manage groups refer to the Managing Groups Section.
If a person is a member of more then one group set to receive the email, they will only receive one copy of the email. Also, individual people can be excluded from Group Emails if the ALLOW GROUP EMAIL option on their People record is not checked. Click SAVE to save your email after you have entered all content and specified groups.
Instead of sending to a specific group, you may also wish to send to all people who are associated with a particular topic, which works the same as groups. To do this click on the SEND TO TOPICS TAB and check the box next to the associated topics you wish to receive the email.

Sending the Email
When you have finished composing your email, you should send a test email to make sure everything looks the way you want and that there are no errors. To accomplish this task, simply click the SEND TEST button. An email will be sent to the person specified in the SEND CONFIRMATION TO field. This email will be exactly what you will send to your groups.
If you need to make any changes, go to the ADMIN HOME page, and click on MANAGE EMAIL and then GROUP EMAIL from the menu on the left side of your screen. When you see the list of emails on the right side of the screen, click on the paper/pencil icon for the email you need to modify. This will open up the record for that email and you can change anything that needs adjustment.