MeetingSmart is an add-on that enables online event and meeting registration. The following major features are included:
- Online payment processing through the leading online transaction processors
- Offline payment processing with itinerary emails
- Fully customizable registration captions
- Customizable attendee fields
- Easy to use meeting configuration panel
- Simple to add registration process on any webpage.
- Multiple simultaneous meetings
- Meeting sessions with individual pricing
- Early signup discounts for meetings and sessions
- Discount code mechanism
- Attendee Reporting
How to Install the MeetingSmart Add-On
Click here for information on Installing Add-Ons.
How to Add Meetings
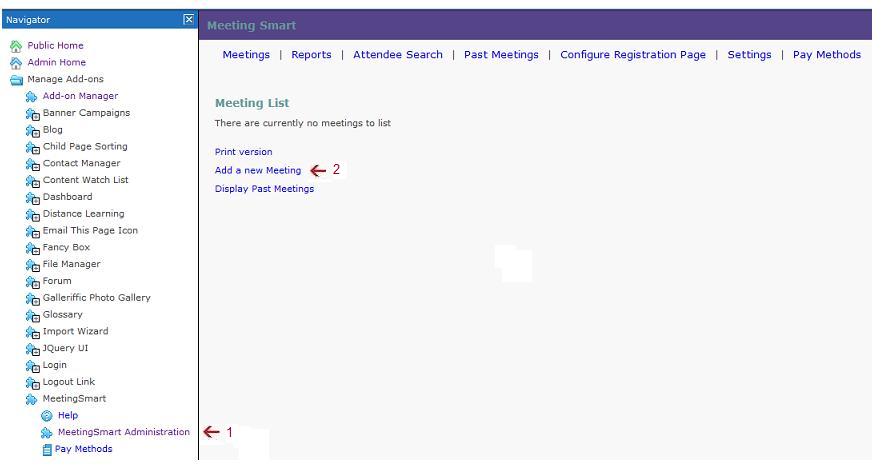
When you are logged on as an Administrator, you will select the ADMIN HOME option from the menu. You will then click on MANAGE ADD-ONS, then MEETINGSMART, and finally MEETINGSMART ADMINISTRATION from the Navigator on the left side of your screen. This will provide a list of menu options on the right side of your screen. To add a new meeting, click on ADD A NEW MEETING.
Then you will see a record where you will set the following meeting specifications:
MEETING: Enter the meeting name
START DATE: Enter the meeting start date
END DATE: Enter the meeting end date
LOCATION: Enter the city and state where the meeting will be held
FACILITY: Enter the facility name where meetings will be held
FACILITY LINK: Enter the website for the facility
HOTEL: Enter the preferred hotel name where attendees may stay
HOTEL LINK: Enter the website for the hotel
DESCRIPTION: Enter a brief summary of the meeting or event purpose
EARLY REGISTRATION DATE: If you offer a discount for early registrations, enter the end date here
CHECKBOXES for: Allowing discount codes, allowing users to register guest, and to skip login requirement
ADD ATTENDEES TO THIS GROUP: Select a group, if any, that you want attendees added to
FROM ADDRESS FOR EMAILS: Email that you want any emails generated for this meeting to include in the FROM line
NOTIFICATION GROUP: Group of people that will be notified when anyone registers for the meeting
SESSION SORT METHOD: Specify how sessions will be sorted for the meeting
PAY METHODS: Specify accepted payment methods (To use PayPal, you must have a PayPal account and transfer your account information to MeetingSmart settings; to add additional pay methods, click PAY METHODS and then ADD at the top of the screen.)
Add Meeting Registration to a Page
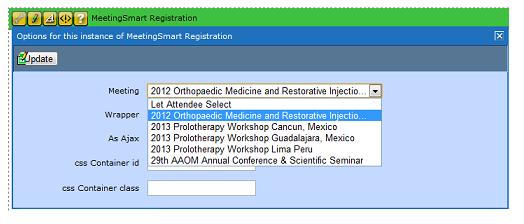
When you are logged on as an Administrator, go to the webpage where you want the meeting registration to be located. Login and click on EDIT. Click the paper/pencil icon to edit the page. Put your cursor in the copy block and click on Add-ons in the menu and MEETINGSMART REGISTRATION as shown below. Click OK to save the add-on to the page.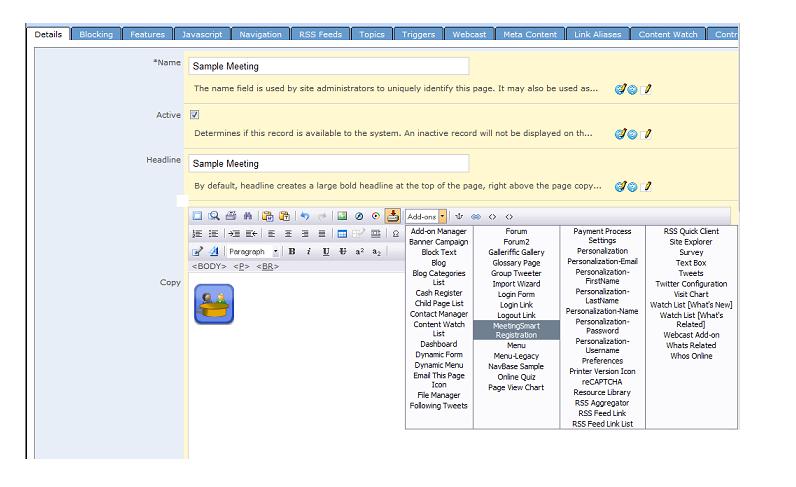
How to EDIT Meetings
When you are logged on as an Administrator, you will select the ADMIN HOME option from the menu. You will then click on MANAGE ADD-ONS, then MEETINGSMART, and finally MEETINGSMART ADMINISTRATION from the Navigator on the left side of your screen. This will show a list of all meetings currently planned on your website. Click on the meeting # to open the meeting record. On this screen you can click to edit meeting settings, and add/edit attendee types, sessions or discount codes.
If you want to change what fields are displayed or required during meeting registration, you can click on CONFIGURE REGISTRATION PAGE at the top of your screen.
Click on SETTINGS to change settings for the MeetingSmart registration process and click on the REGISTRATION STEPS TAB if you want to edit what text registrants will see at each step as they complete their registration.
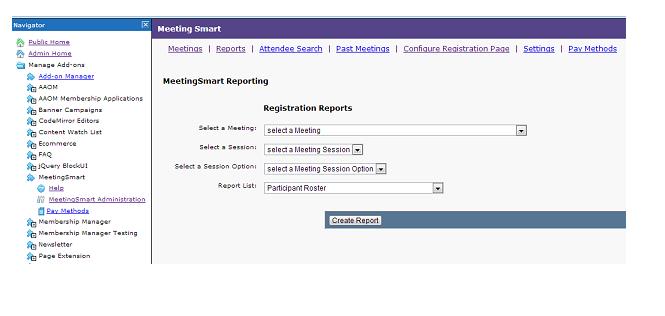
How to Generate Meeting Reports
When you are logged on as an Administrator, you will select the ADMIN option from the menu. You will then click on MANAGE ADD-ONS, then MEETINGSMART, and finally MEETINGSMART ADMINISTRATION from the Navigator on the left side of your screen. This will show a list of all meetings currently planned on your website. At the top of the screen, click on the REPORT link at the top of the screen. From here you will select the meeting from the drop down menu. You can also select a particular session or session option, but if you want a report with information about the meeting in general, do not select a particular session or option. Finally, select the type of report you want from the REPORT LIST drop down and click CREATE REPORT. You will see a display of the report your requested, with options at the bottom to print or export report data.